 EN
EN

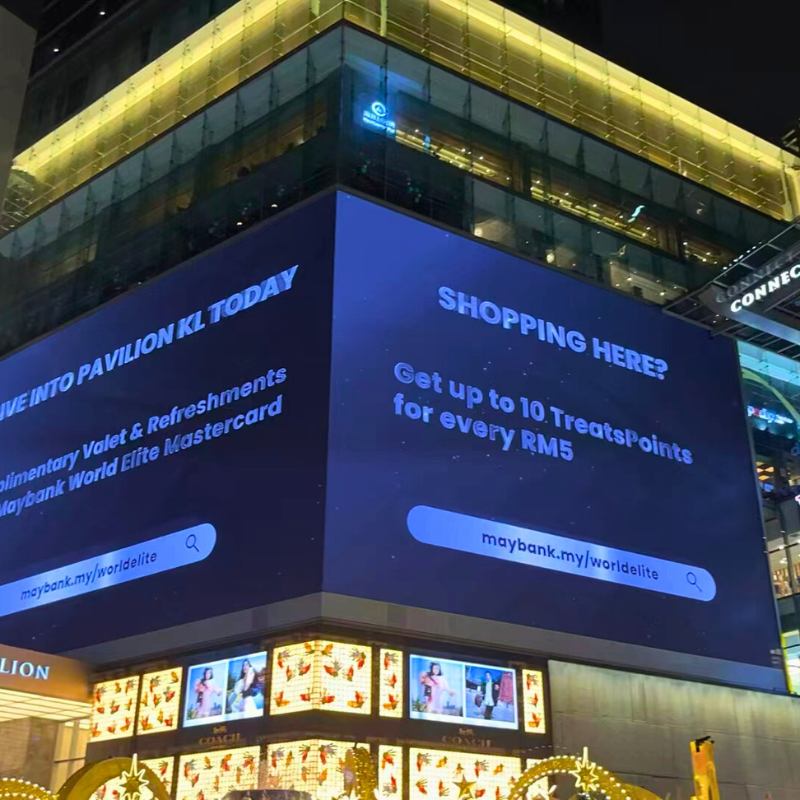
Installing a curved LED screen is a technically demanding task that requires careful planning, precise structural preparation, and a thorough understanding of how flexible LED panels behave under physical stress. Unlike a flat LED video wall, a curved LED screen must conform to a radius — whether that radius is the gentle arc of a retail feature wall or the full 360-degree wrap of a cylindrical display column. Getting this installation right from the start means fewer alignment issues, longer panel life, and a visually seamless result that meets professional display standards.
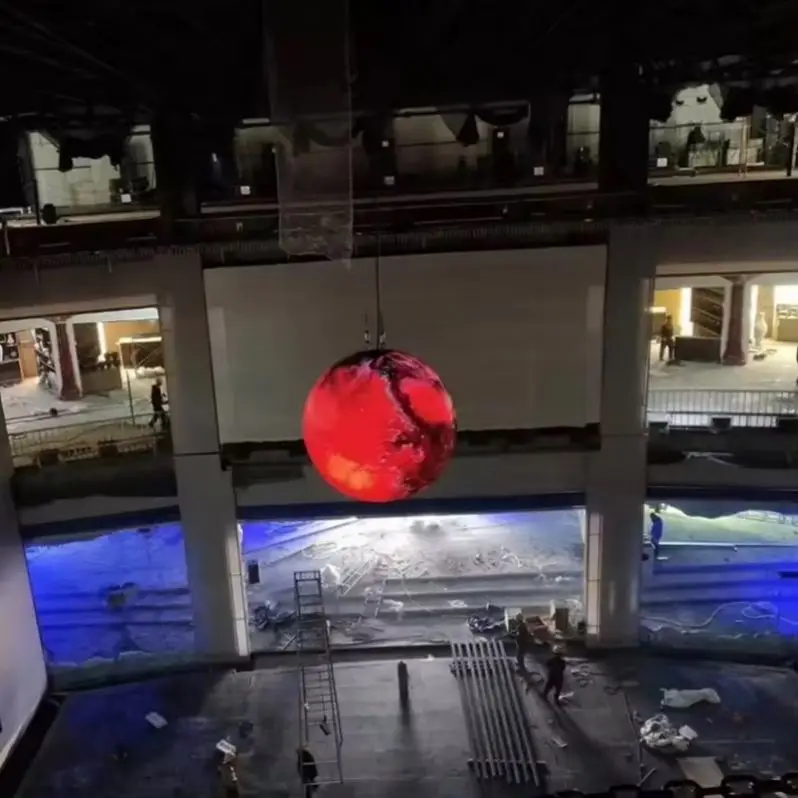
This guide walks through the complete process of installing a curved LED screen, from evaluating your site and selecting the right panel type to mounting, wiring, and final calibration. Whether you are setting up a curved LED screen for a retail environment, a broadcast studio, a corporate lobby, or an event stage, the core installation principles remain consistent. Understanding each phase in sequence will help your team execute the project efficiently and avoid costly rework.
Structural and Site Preparation for a Curved LED Screen
Assessing the Mounting Surface and Radius
Before any hardware arrives on site, the installation team must evaluate the mounting surface in detail. A curved LED screen places uneven lateral forces on its support structure, especially on tight-radius cylindrical builds. The wall, column, or custom frame that will hold the curved LED screen must be load-rated to handle the combined weight of all panels plus the mounting hardware. Measure the target radius accurately using a template or laser tool, because even a small deviation from the specified bend radius can cause panel stress fractures over time.
For a cylindrical curved LED screen, you will typically construct a dedicated steel or aluminum framework shaped to match the column diameter. This framework serves as the backbone of the entire curved LED screen installation and must be perfectly plumb and level before panel mounting begins. Any tilt or warping in the frame will transfer directly to the panel surface, creating visible seam gaps or uneven brightness across the curved LED screen.
Electrical and Data Infrastructure
Routing power and data cables for a curved LED screen requires planning before the structural frame is enclosed. Each curved LED screen cabinet or tile will require both a power feed and a data signal line. Map out your power distribution points along the frame so that cable runs stay short and organized. Use cable management channels built into or attached to the frame, and label every cable clearly. A poorly wired curved LED screen is extremely difficult to troubleshoot after panels are mounted, so invest time in clean pre-installation wiring.
Panel Mounting and Alignment Process
Choosing the Right Panel Type for Your Curved LED Screen
Not every LED panel is suitable for a curved LED screen installation. Standard rigid cabinet panels can only achieve very mild curves and are generally unsuitable for cylindrical applications. For a true curved LED screen with a tight radius, flexible LED modules are the standard choice. These modules use a soft PCB and a malleable cabinet structure that can bend to the required angle without damaging the LED chips or circuit traces. Before ordering panels, confirm the minimum bend radius specification from your supplier and ensure it matches the radius of your installation design.
When mounting panels on a curved LED screen frame, always start from the center of the display and work outward toward the edges. This approach helps maintain symmetry and makes it easier to adjust alignment as you go. Each panel in a curved LED screen installation must sit flush against the mounting frame with no gaps at the seam lines. Use the built-in magnetic or screw-lock connectors provided with the panels, and check alignment with a straight edge or laser level after every row is installed.
Securing and Seam Management for a Curved LED Screen
Seam management is one of the most critical aspects of a high-quality curved LED screen installation. On a cylindrical curved LED screen, the panels must meet precisely at each vertical seam so that the pixel pitch is consistent across the entire display surface. Use feeler gauges to verify that the gap between adjacent curved LED screen panels matches the standard module pitch. If gaps are inconsistent, the image will show visible bright or dark lines at the seams. Adjust the mounting points incrementally and recheck before tightening all fasteners permanently.
For a curved LED screen installation that wraps a full 360 degrees, the final closure seam — where the first and last panel meet — requires special attention. The closure panels may need to be custom-trimmed or ordered in non-standard widths to achieve a perfect wrap. This should be identified and planned during the design phase, not discovered on installation day.
Wiring, Control System Setup, and Testing
Signal Routing and Controller Configuration
Once all panels are physically mounted on the curved LED screen frame, the next step is connecting the data signal chain. Most curved LED screen systems use a daisy-chain or star topology to distribute the video signal from the LED controller to each panel. Follow the signal flow diagram provided by the panel manufacturer, and ensure that each data cable is fully seated in its connector. A loose data cable is the most common cause of flickering or dead zones on a newly installed curved LED screen.
Configure the LED controller to match the total pixel dimensions of your curved LED screen. Input the correct width and height values, map the panel layout, and set the appropriate refresh rate and brightness level for the environment. For a cylindrical curved LED screen viewed at close range, a higher refresh rate setting will improve camera compatibility and reduce visible scan lines in video recordings.
Final Calibration and Quality Check
After the control system is configured, run a full-screen test pattern across the entire curved LED screen to identify any dead pixels, brightness inconsistencies, or color shift between panels. Adjust individual panel brightness settings in the controller software to achieve uniform luminance across the curved LED screen surface. Check the physical alignment one final time from the primary viewing distance to confirm that the curved LED screen reads as a single seamless display rather than a patchwork of individual modules.
FAQ
What type of LED panel works best for a cylindrical curved LED screen?
Flexible LED modules with a soft PCB design are best suited for a cylindrical curved LED screen. They support tight bend radii without damaging the LED components and allow the curved LED screen to maintain even pixel spacing around the full circumference of the cylinder.
How do I prevent seam gaps on a curved LED screen installation?
Start panel mounting from the center of the curved LED screen and work outward symmetrically. Use feeler gauges to check seam gaps after each row, and adjust mounting points before final tightening. Accurate framework construction is the most reliable way to prevent gap issues on a curved LED screen.
Can a curved LED screen be installed outdoors on a cylindrical column?
Yes, a curved LED screen can be installed outdoors if the panels are rated for outdoor use, typically IP65 or higher. The structural frame for an outdoor curved LED screen must also be weatherproof and corrosion-resistant, and all cable connectors must be properly sealed against moisture ingress.