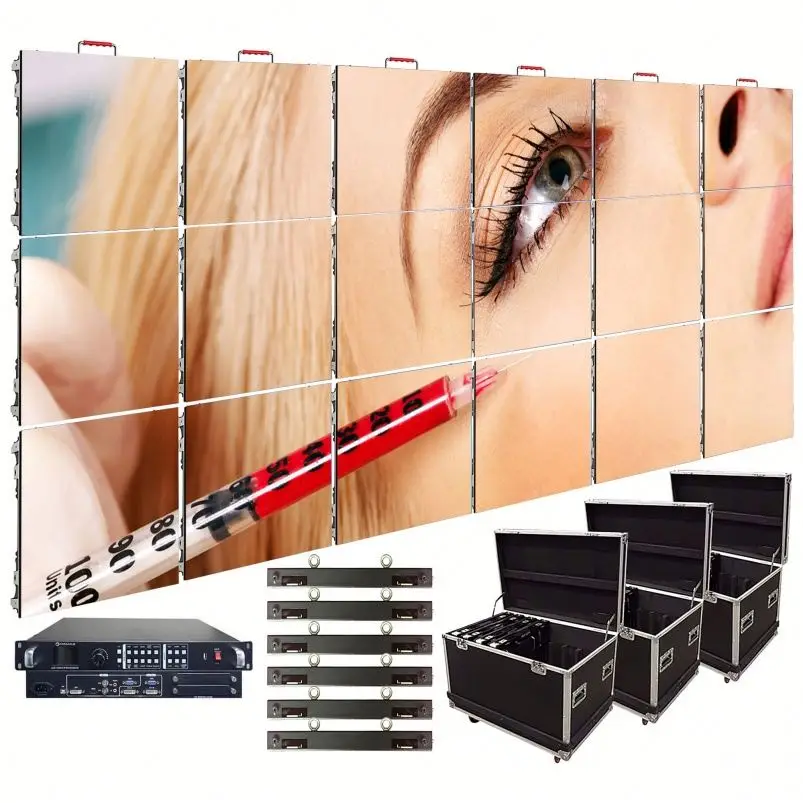
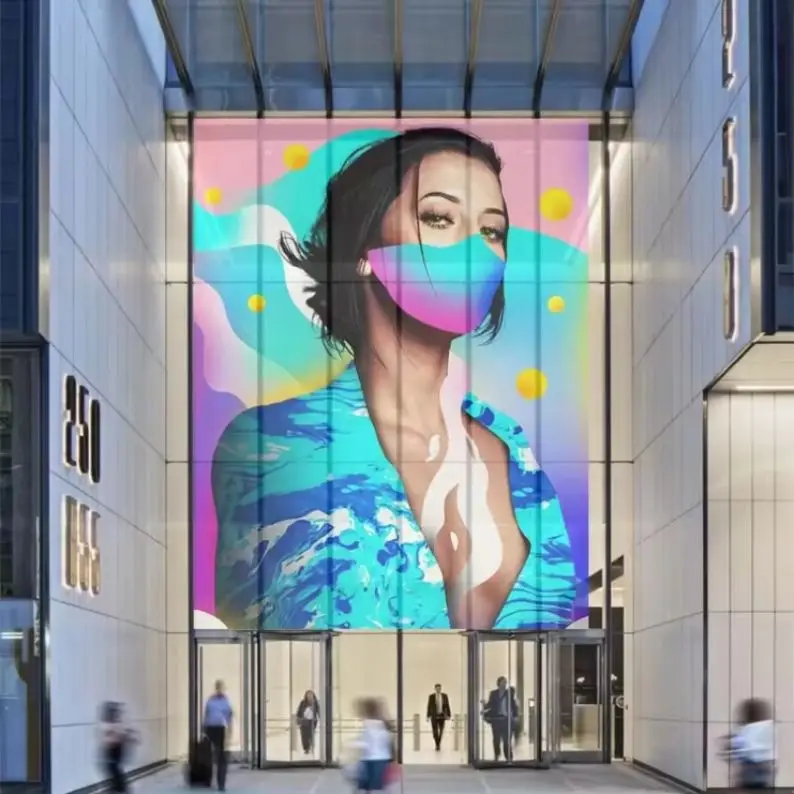
Home theater systems are getting a major upgrade thanks to fine pitch LED walls that bring together self emitting pixels with the ability to grow as needed. Traditional LCD screens have problems with blooming effects and poor contrast because of their backlighting systems. LED walls fix this by creating deep black levels and incredible contrast ratios without needing any extra layers or filters. While OLED displays also emit their own light, they still struggle with burn-in issues when showing static menus or long running titles something that really matters in homes where people watch lots of content. Modern LED panels ranging from P1.2 to P2.5 sizes can hit around 1,200 to 2,000 nits of brightness which means colors stay vibrant and HDR looks great even if there's some ambient light in the room. These displays maintain good color accuracy at viewing angles over 160 degrees so everyone sitting off center gets a decent picture quality. No more fighting over who gets the best seat! The panels fit together seamlessly without visible borders, allowing for curved setups and unusual aspect ratios like the 21:9 format used in movie theaters. Best of all, these LED walls can be expanded in any direction both wider and taller than standard TVs ever could, giving homeowners an immersive experience without losing detail at the pixel level.

The distance between LED clusters, known as pixel pitch, really matters when it comes to how sharp something looks from a certain distance away. Most home theater setups work best with pixel pitches ranging from P1.2 to P2.5 mm. If someone sits around 6 to 8 feet back, then P1.2 through P1.8 works great for getting that 4K look without seeing individual pixels even if they lean in a bit. For folks sitting further back, say 8 to 12 feet away, going with P1.8 to P2.5 makes sense because it still gives an immersive experience without paying extra for pixels that aren't needed. Take a P2.0 wall installed about 10 feet from where people sit. It handles 4K stuff pretty well, doesn't show those annoying little dots in text or details, and keeps things running efficiently in terms of heat and electricity. The key thing here is matching the pixel size to where most viewers actually end up sitting, not just whoever grabs the front row every time. Once we get past 12 feet away, there's basically no difference between P2.5 and smaller pitches visually speaking, but using P2.5 cuts down on complications, generates less heat, and saves power overall, which is why bigger spaces tend to go this route.
The real starting point for setting up any home theater should be how far away people will sit from the screen, not just what size TV they can afford. When watching movies feels truly immersive, the main seats need to be placed where the screen takes up about 30 degrees of our horizontal vision. This setup helps keep viewers engaged without making their eyes tired or their necks sore after long sessions. Let's put numbers to it practically speaking. Take whatever distance in feet exists between where folks typically sit and the wall where the TV goes, then multiply that number by around 0.84 to get the ideal screen height. If someone sits roughly ten feet back, they'd want something close to eight and a half feet tall (about 101 inches). From there, adjust the width according to whatever aspect ratio works best for their space and content preferences.
When we talk about resolution, it's not really about that "4K" marketing label. What matters most is how many pixels there are compared to where someone sits to watch. For regular home theaters where people usually sit around 8 to 12 feet away from the screen, panels with P1.2 to P1.8 spacing actually pack in at least 2.5 million pixels per square meter. That's plenty to show off real 4K content without anyone spotting those tiny pixels. When panels drop below P1.5, those little LED dots just disappear completely, even if someone gets right up close. This makes all the difference when watching films with detailed textures or navigating complex on-screen menus. Most folks know about this 60 PPI standard for clear text and good picture quality at the closest comfortable viewing distance. And there's another handy trick too: just match the pixel size to the viewing distance in meters. So a 1mm gap between pixels works well for screens viewed from one meter away. These rules help simplify things when setting up a home theater system.
| Factor | Formula/Guideline | Purpose |
|---|---|---|
| Screen Height | Viewing Distance (ft) Ã 0.84 | Optimizes field-of-view and comfort |
| Pixel Density Guidance | 1 mm pitch à 1 m viewing distance | Prevents visible pixel gaps |
| Minimum Resolving Power | ³60 PPI at closest viewing point | Ensures sharp text and fine detail |
Modular LED setups give designers amazing freedom when it comes to layouts, though sticking with common aspect ratios makes things much easier in practice. Most folks go for either 16:9 if they need something compatible with TV broadcasts and online streaming platforms, or 21:9 for those big screen movie experiences. To get started, figure out what size display is needed first. Then do some math based on panel specs. Take total width divided by individual panel width to find how many horizontal units are needed. Same goes vertically with height measurements. And remember to always round up numbers to whole values since partial panels won't work. Having extra panels around actually helps a lot because they let technicians crop images precisely without stretching them or adding black bars. Plus these spare modules make it possible to trim edges so displays look completely seamless without visible gaps between panels. When working on curved installations, keep angles between panels within 15 to 30 degrees otherwise strange distortions might appear and brightness levels could become uneven across different sections. Before bolting everything down permanently, check alignment carefully using standard 4K test patterns like SMPTE RP 219 or EBU R 118. Small alignment errors tend to multiply as displays grow larger, making corrections after installation really tricky sometimes.
When it comes to residential LED walls, there are several key specs that really make a difference in how well they perform over time and what kind of picture quality homeowners get. Let's start with scan type since this affects how smooth moving images look. The 1/32 scan option gives much better refresh rates and cuts down on flickering when watching something fast paced like sports events or playing video games, which matters a lot for these applications. Next up we have the Hub75 interface connection. Most residential systems still rely on this setup because so many manufacturers use it. That means parts work together nicely, problems are easier to fix, and firmware gets updated regularly without headaches. Cabinet depth is another factor worth considering too. Nobody wants an LED wall sticking out more than 50mm from the wall surface, especially in living rooms where space matters and looks count. Last but definitely not least important is keeping things cool. Passive cooling solutions with good heat sinks and solid aluminum frames need to maintain temps below around 35 degrees Celsius during normal operation. Putting active fans inside just creates unwanted noise and potential breakdowns in quiet home settings. Poor cooling also makes LEDs lose brightness faster and change colors over time, so getting this right upfront saves money and frustration later on.
| Specification | Home Theater Requirement | Performance Impact |
|---|---|---|
| Cabinet Depth | ≤50mm | Enables discreet, flush mounting |
| Operating Temperature | <35°C (95°F) | Preserves color accuracy and lifespan |
| Scan Type | 1/32 recommended | Eliminates motion artifacts and flicker |
Aluminum extrusion systems bolted directly into wall studs create rigid wall frames that provide exceptional structural strength and maintain alignment within half a millimeter. These frames work best for long term, precision oriented setups such as home theaters or media rooms where walls are made of concrete or masonry. On the flip side, suspended grid systems bring their own set of benefits for regular drywall installations. Magnetic or clip based rail systems let users take out and replace individual panels in less than ninety seconds without having to tear everything apart for maintenance, recalibration, or component updates. Grid systems handle small wall imperfections well too, and they make running cables behind the wall much easier. Plus, many come with adjustable tilt features that can shift up to three degrees either way, which helps correct those awkward viewing angles often found in open plan living areas. Go with rigid frames if stability and minimal upkeep are top concerns. Opt for suspended grids when adaptability down the road, simple servicing, and flexible installation options become important factors.
Reliability begins not with the display itself—but with how cleanly and consistently it receives power and signal. Voltage instability, signal compression, or undersized infrastructure will degrade image quality, shorten panel life, and undermine the investment—regardless of pixel pitch or brightness specs.
Uneven brightness, flickering lights, or sudden panel shutdowns on big LED walls? Voltage drop is usually behind these issues. What happens is simple physics really - the wire itself resists electricity flow, so voltage gets lost along the way from transformer to those far away panels. This becomes a real pain point once cable runs go beyond about 10 feet. Want to fix this? Three main approaches work best. First off, upgrade to at least 12 AWG copper wiring for all major power lines running through the wall. Second, get transformers that can handle 20% more power than what the whole system actually needs. Think of it like getting a 2,400 watt transformer for a 2,000 watt installation. And third, set up redundant circuits, especially important for those top row panels and corners where failures tend to spread fast. Most standard P2.0 panels run fine on a single 20 amp circuit powering around four to six units. But if we're talking about walls longer than 120 inches, then dual 20 amp circuits with proper load balancing make sense. Oh, and don't forget about optional UPS systems or battery backups either. They keep things running smoothly during short power cuts, which matters a lot during movies or live shows when nobody wants darkness falling in the middle of action.
When designing signal paths, performance requirements should always come before cost considerations. High end sender receiver card systems such as the Novastar M Series or Linsn L series can send 4K at 120Hz without compression through fiber optics or Cat6a cables. These systems have absolutely no lag time and maintain all HDR metadata during transmission. However, they do need careful setup and calibration to get right. What makes these worth the effort though is the professional quality timing accuracy, consistent colors across displays, and ability to scale up easily something really important for large screens over 120 inches or anyone planning ahead for 8K technology. On the other hand, HDMI to LED converters from brands like GANA or Hikvision provide much simpler installation options. They work well with most existing audio visual equipment and function reliably for smaller installations under 100 inches showing either 1080p content or scaled down versions of 4K material. Sure there will be some small delays compared to professional systems and they handle dynamic range changes less effectively, but what these converters lack in technical specs they make up for in convenience and affordability often priced below $100. For installations where picture quality matters most or where future expansion is planned, go with the sender receiver cards. But if quick setup and compatibility with current equipment are more important factors, then HDMI converters remain a solid choice despite their limitations.
A fine-pitch LED TV wall is the cornerstone of a truly immersive home theater experience—no amount of layout design or AV gear can overcome a low-quality display that lacks clarity, brightness, or scalability. By matching pixel pitch, screen size, and installation design to your home’s space and viewing habits, you’ll unlock a cinema-grade experience that delivers consistent, stunning visuals for years to come.
For custom fine-pitch LED TV wall solutions tailored to your home theater goals, or to source high-performance P1.2–P2.5 LED panels and modular LED display systems, partner with a manufacturer with deep expertise in energy-saving LED display technology—Guangzhou Junchen Display Technology Co., Ltd. (Junchen Display). With 10 years of experience as a leading energy-saving LED display manufacturer, Junchen Display specializes in fine-pitch COB LED panels, seamless modular LED walls, and custom LED display solutions for residential and commercial use. Our products hold global authoritative certifications (CE/FCC/ROHS/UL/ISO9001), feature energy-saving chips that cut power consumption by 30% compared to traditional models, and support cinema-grade curved setups and 21:9 aspect ratios for the ultimate home theater design. We offer end-to-end one-stop service—from custom design and technical drawing to professional installation guidance, 3-year free after-sales technical support, and 7×24 remote debugging. Our 7-step strict quality inspection process ensures every LED panel delivers flawless performance, and our factory-direct manufacturing means premium quality at competitive pricing.
Contact us today for a no-obligation consultation to design your perfect custom fine-pitch LED TV wall and transform your home into a luxury cinema space.
 Hot News
2025-05-27
2025-09-25
2025-09-23